


***mkay&billy2011*** how i made the melted crayon project [PIP fixed]
i saw you asked how i made the project in my original post, and i didn't want it to get lost as the bump's posts keep coming, so i started a new one ![]()
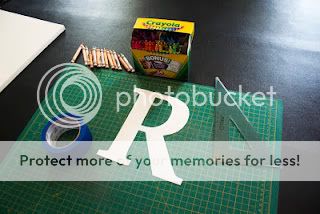
to start, i looked through a bunch of letter Rs, and chose "Lucida Bright" as the font. nice and classic ![]() printed it out, then cut it out with scissors. i used a 64 pack of crayola crayons (amazon, $6), and DH helped take out all the yucky whites, blacks, browns, and grays out of the crayon box since i didn't want those colors on the final project.
printed it out, then cut it out with scissors. i used a 64 pack of crayola crayons (amazon, $6), and DH helped take out all the yucky whites, blacks, browns, and grays out of the crayon box since i didn't want those colors on the final project.
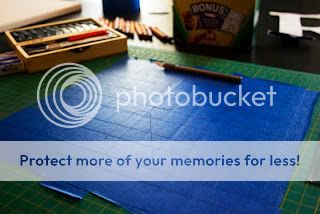
i needed a sticky stencil "R" to place on the canvas, but we didn't have contact paper or anything like that (would have been MUCH easier for taking it off later on because it would have been one piece), so i just used painters tape, and lined a bunch of rows and columns together on my cutting mat, then traced out the R in pencil.
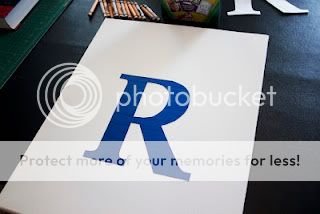
then i carefully cut out the R with my xacto blade...
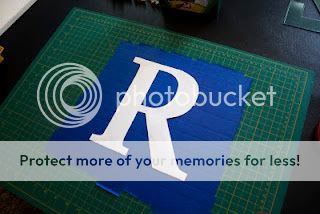
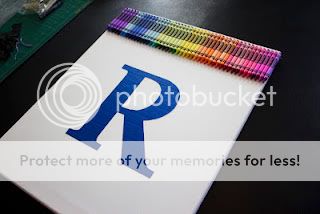
and placed it where i wanted it on the canvas (the canvas is 16"x20").
then i picked out the order i wanted the colors to be in, lined them all up, and hot glued the backs of them to place them at the top of the canvas.
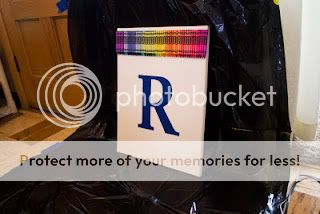
i figured heating up the crayon wax with a heat gun would make it splatter a bit, so i wanted to make sure to keep the house clean! haha...DH cut this garbage bag and taped it to the wall and floor for me ![]()
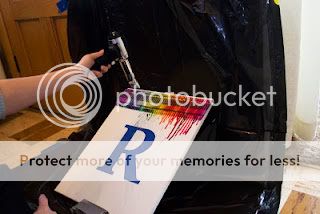
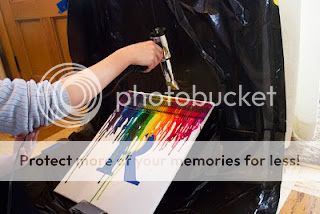
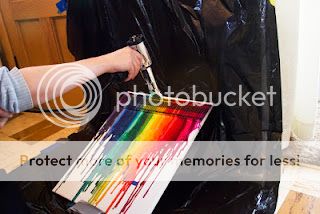
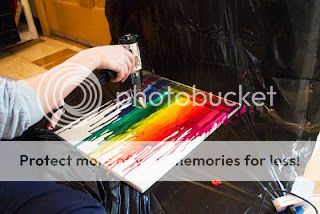
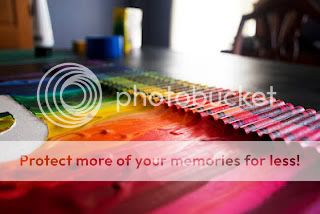
and now came the fun part! i HIGHLY recommend using a heat gun over a blow dryer if you have one. MUCH faster. i still took my time though because i wanted to control where/how fast the wax came out to get the effect/look i wanted. keeping the canvas at this angle (below) really helped too. not too steep so the wax didn't just drip straight to the bottom.
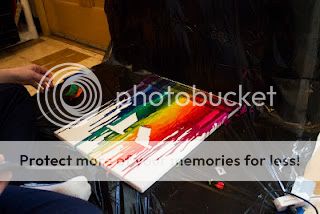
once i got it how i wanted it to look, it was time to try and remove that R that was now covered up with dried wax. i took small sections of the R off at a time because i think it would have been too hard to peel it all off at once since you can only re-heat small sections of wax at a time. i flattened the canvas at this point too because when i re-heated the wax above where the R was, i didn't want it dripping down anymore. just wanted it warmed up enough to peel that R off. this was a SUPER tricky process.
here we are! all finished! well...almost! i wanted to clean up those edges where the wax leaked in under the painter's tape, so i scraped off as much as i could, then just painted the R section with white acrylic paint.
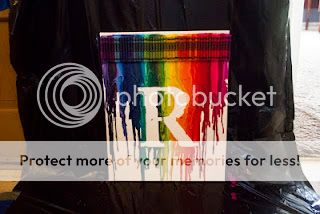
here's the finished project! i'm SO happy with the way it came out. it's so bright, vibrant, and happy! i think it will look great on her bedroom door.
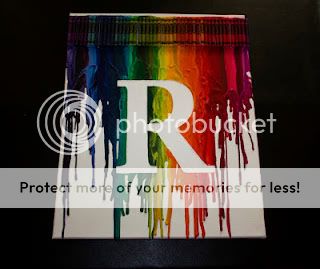
and DH and i both really love how the crayons just look like sewer tubes pouring out color hahaha...
overall, it was a really fun project! it took about 2 hours from start to finish, but i'm a pretty huge perfectionist, so it might take you less time if you try it yourself! good luck!!! ![]()
Re: ***mkay&billy2011*** how i made the melted crayon project [PIP fixed]
Thank you so much for all the detail and pics! That is such a cute idea I may have to give it a try! Thanks also for posting this seperate so, as you said, it didnt get lost and I forgot to look at it! your very creative and this is so cute!
Thanks again!
thanks everyone!!!
that's fine with me!") i'm glad you like it! i think it would still turn out pretty if you used all pink, but i would do different shades of pink. probably would still look cool with one shade too, but i think different would give it more contrast
i'm glad you like it! i think it would still turn out pretty if you used all pink, but i would do different shades of pink. probably would still look cool with one shade too, but i think different would give it more contrast ") good luck!!!
good luck!!!